
How to Make Your Own Head Into an Awesome Applique!
Hey all! My name is Pamela and I’d like to show you how you can easily make your head into an applique. This is a great way to use up fabric scraps. It looks awesome, is pretty easy and very rewarding!
Supplies:
Photo (electronic or physical)
Trace Paper and Pencil
Fabric Scraps (any kind will work, I am using knit for this tutorial)
Rotary Mat and Cutter
Scissors
Water Soluable Fabric Glue
Thread
Sewing Machine
Let’s do this!

First you will want to gather your photo or photos. I traced mine off of my Chromebook.I am making myself and my boyfriend. His head is bigger than mine, so I wanted to make sure they were accurately sized. I used a photo of us together to get the basic size of our heads correct and then did the main tracing from the photos I had chosen.
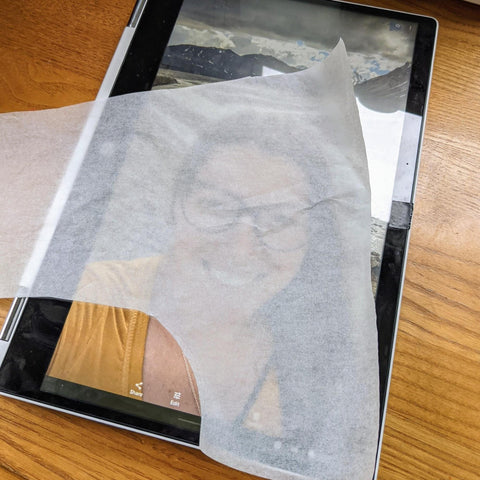
Grab your trace paper and trace the main things you want on the picture. I did my head, hair and glasses. That’s it. I added hair on the other side of my head too because I think it will look better.

Decide which pieces you would like to be their own fabrics and cut your tracing up accordingly. I had to retrace a few things (like my glasses) so that I had solid pieces of everything.

Time to choose your fabric! I’m positive that you have a bunch of scraps stashed away waiting for just this kind of project. I used some cotton lycra, double brushed poly and french terry for the backing.

Now to cut out your pieces. I prefer my rotary cutter for this, but I did have to use my scissors to cut out some of the small corners.

This is the best part! Lay your pieces together so you can see how it looks and make sure you don’t need to change anything. I ended up recutting boyfriend’s face because we didn’t like the bee placement. Then I had to choose a new fabric for my glasses because they blended in too much.

Now that you’ve got it all just right it’s time to grab something to back the fabric. Set your applique out on the fabric and grab your water soluable fabric glue. You could just pin the fabric pieces, but I think mine would be a mess if I did that. The fabric glue really keeps the fabric where I want.

Looks good right? All ready to sew!

I set my machine to a small zigzag stitch and stitch around each piece. Be sure to lift your presser foot and pivot around the sharp corners. I also changed my thread color for the bee fabric so that it would blend in better.
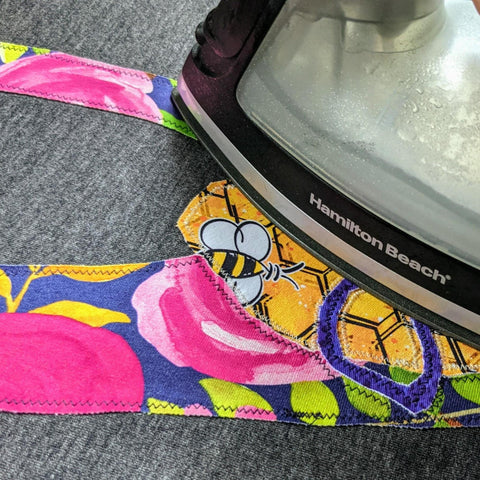
Iron your finished pieces really well and trim the backing so that it’s in the shape of your heads.

That’s it! You did it! Now you can sew them onto whatever you want. I think I will hang these two in our living room. I’ve made others that I put onto a curtain.
I can’t wait to see yours!
If you’d like to see more of my makes you can find me everywhere as s.wonderful.sews. Here are some quick links for you: Instagram, Facebook and TikTok.
**Amber here - How perfect was that?? These are so so cute! What an awesome idea. PLUS it's perfect timing for a little BEES feature since that print is open for preorder now through 7/11!
